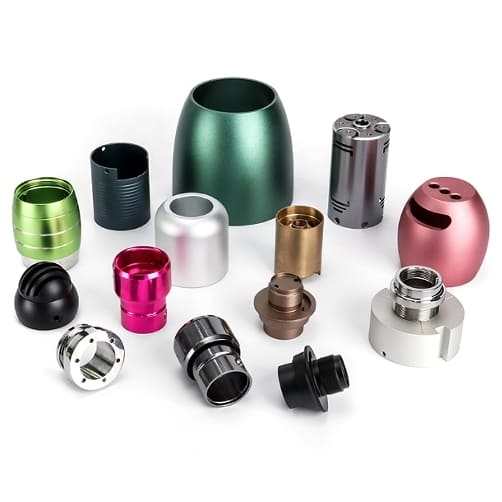
Surface roughness is something I’ve encountered time and time again in my work at GMetals. It’s a topic that often gets overlooked, but it directly impacts the performance, durability, and even the aesthetics of the products we create. Whether it’s the smoothness of a metal part that’s critical for functionality or just for the look, understanding surface roughness has been key to ensuring we deliver top-quality CNC machining1 and sheet metal fabrication2.
Simply put, surface roughness refers to the tiny, fine deviations from an ideal smooth surface that are caused by machining or manufacturing processes. These tiny bumps and valleys can affect everything from the wear and tear of parts to their interaction with other surfaces.
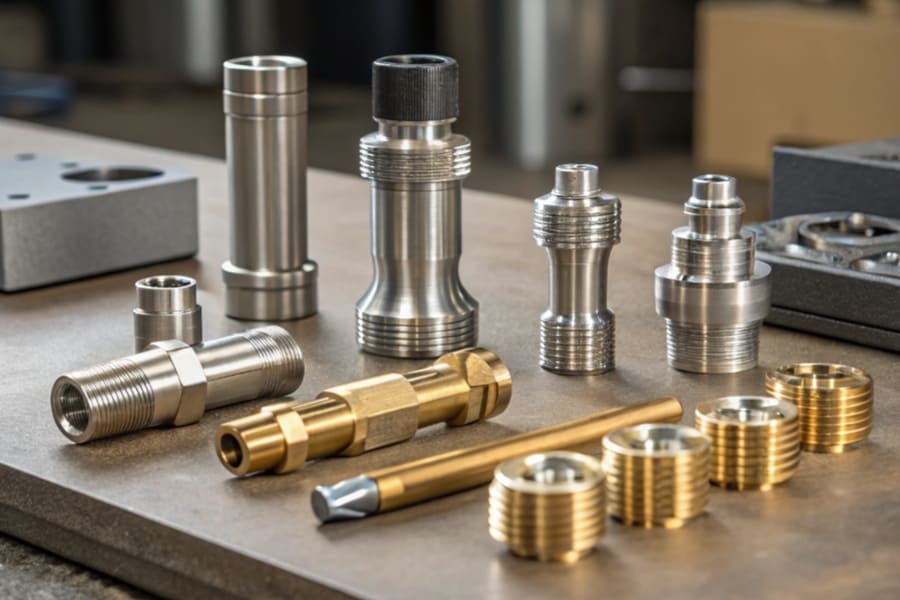
In this article, we will explore how surface roughness is calculated, what values are considered "good" depending on the application, and how surface roughness influences the behavior and longevity of parts. We’ll also discuss some important industry standards and common measurement methods to give you a clearer understanding of how surface finish affects both the functionality and aesthetics of machined parts.
How to calculate surface roughness?
I remember the first time I had to calculate surface roughness for a project. I was nervous—there seemed like so many factors at play, and I didn’t want to miss something crucial. But once I broke it down, it became much easier. Now, it’s a routine part of my work.
To calculate surface roughness, I rely on parameters like average roughness (Ra) and root mean square roughness (Rq). These help me quantify how much deviation from a smooth surface exists and give me a more accurate idea of how the part will behave in real-world use.
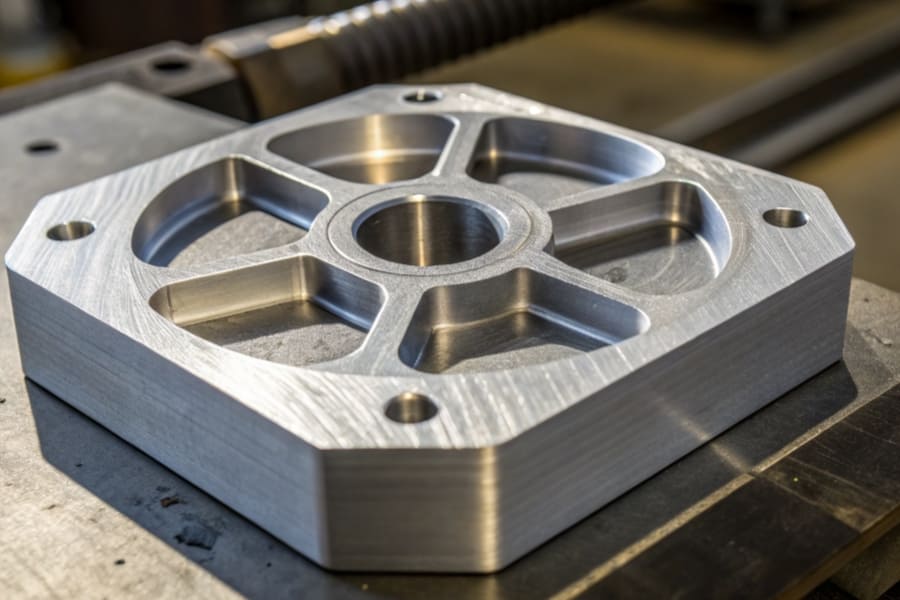
I typically use digital surface profilometers3 or other measuring tools to get a precise reading of the surface. Whether it’s a manual or digital method, the goal is always to measure the height of the peaks and valleys on the surface over a defined distance. This data is then used to calculate the roughness value.
Common Methods for Measuring Surface Roughness
- Contact Profilometer4: A needle that physically touches the surface, recording its displacement.
- Non-contact Profilometer5: A laser scans the surface, useful for delicate materials where you don’t want to risk damage.
Importance of Accurate Calculation
I’ve learned that calculating surface roughness accurately is crucial in ensuring that a part meets its functional and aesthetic requirements. An imprecise measurement can lead to parts that don’t fit properly, wear out faster, or don’t perform as expected.
Additional Measurement Methods
While profilometers are the most common, advanced techniques like atomic force microscopy (AFM)6 and white light interferometry7 provide highly accurate surface roughness measurements. These methods allow for an even deeper level of detail, which is essential for high-precision industries like semiconductor manufacturing and optical lens production.
What is a good surface roughness value?
Over the years, I’ve worked with parts that needed to meet very specific surface roughness values. The right roughness depends on the part’s application, and it’s something I’ve learned to balance carefully. Too smooth, and the part might not function properly. Too rough, and it could wear out too quickly.
A good surface roughness value typically falls between Ra 0.1 to Ra 3.2, depending on the type of part and its intended use. In my experience, lower values are better for precision applications, while higher values can work for industrial or less demanding parts.
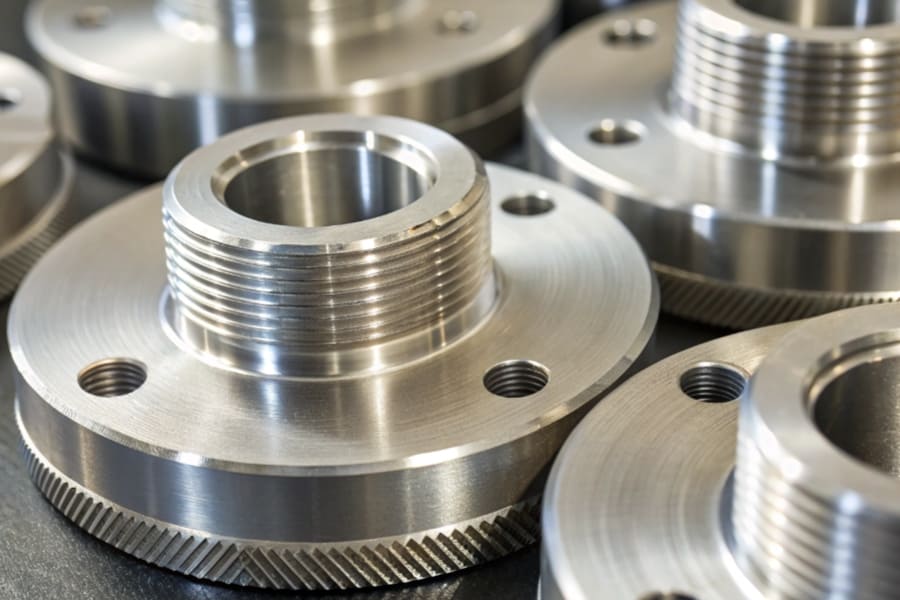
Surface Roughness Values by Industry
| Industry | Good Surface Roughness (Ra) |
|---|---|
| Aerospace | 0.4 – 0.8 |
| Automotive | 0.8 – 1.6 |
| Manufacturing | 1.6 – 3.2 |
| Medical | 0.1 – 0.4 |
Factors Influencing Surface Roughness
From what I’ve seen, the material type and machining process play a huge role in determining the surface finish. For example, materials like aluminum usually have smoother finishes, while processes like grinding tend to yield much smoother surfaces compared to milling.
Additional Influences on Roughness
- Tool Condition: Worn-out tools can increase surface roughness.
- Cutting Fluid: The use of cutting fluids helps in reducing friction, resulting in smoother finishes.
- Machining Parameters: Adjusting cutting speed, feed rate, and depth of cut can drastically affect the surface finish.
What is the 16 rule for surface roughness?
When I first heard about the 16 rule, I thought it sounded almost too simple. But after testing it out in a few of our projects, I found that it can be a really useful guideline for estimating the roughness based on the feed rate.
The 16 rule is simple: it says the surface roughness (Ra) in micrometers is about 1/16 of the feed rate in millimeters. This rule helps estimate the achievable surface finish during machining and gives me a quick way to know if I’m on track.
Application of the 16 Rule
- Feed rate of 0.5 mm → Surface roughness of approximately Ra 0.03 μm.
- Feed rate of 1 mm → Surface roughness of approximately Ra 0.06 μm.
Limitations of the 16 Rule
While this rule is a great quick estimate, it’s important to remember that it’s only a guideline. The actual roughness value will also depend on the material type, tooling, and machining conditions. It’s always essential to validate the results with accurate measurement techniques.
What is RA and RZ in surface roughness?
When I started working with surface roughness measurements, I was introduced to both RA and RZ. At first, the difference seemed confusing. But once I understood their significance, I realized how each could be applied in different situations.
RA (Average Roughness) gives a general sense of the surface smoothness by averaging all the surface deviations. RZ (Average Maximum Height) measures the average of the highest peaks and valleys. RA gives a general overview, while RZ highlights the extremes.
RA vs. RZ
- RA is often used for a broad overview of surface smoothness.
- RZ is more useful for surfaces that need to endure higher stresses or wear and tear.
Which to Choose?
For parts subjected to cyclic loads or high friction, RZ can often give a better indication of how the surface will behave over time. RA is useful for general purposes, but if you’re working with components that need to resist wear or fatigue, RZ offers a clearer insight.
Which is more accurate in RA and RZ?
At GMetals, I’ve found that both RA and RZ have their place, but RZ often provides a more accurate reflection of surface performance, especially in critical applications where extreme peaks and valleys matter.
RZ is usually more accurate than RA when it comes to assessing how a surface will behave under stress. By focusing on the extremes, RZ helps identify problems that might not show up with RA alone.
RA and RZ Accuracy in Specific Applications
- RA: Great for general surface quality checks.
- RZ: Ideal for high-performance applications like automotive or aerospace, where extreme surface features impact overall performance.
Consideration for Manufacturing
While RA is easier to measure and often the standard, RZ can be more insightful for high-performance materials where surface features like deep valleys or tall peaks significantly affect the part’s functionality. For instance, parts in high-pressure engines may see more wear at the extremes of the surface than on average.
How do you convert RA to RZ?
One thing I’ve had to deal with on more than one occasion is the need to convert between RA and RZ measurements. If you’re working with different standards, you might need to convert one to the other to ensure you’re meeting the right specifications.
*You can convert RA to RZ using the formula: RZ = 4 RA. While this is a useful approximation, I’ve found that the conversion might vary slightly depending on the specific surface and machining process used.**
Why Convert RA to RZ?
Converting RA to RZ can help when comparing surface finishes across different measurement systems, or if you’re dealing with industries that rely on RZ for more precise performance evaluations.
Practical Example
If you’re working in the automotive industry and a part requires RZ measurements but you only have RA data, using the conversion formula can give you a good idea of the surface’s overall texture and help ensure that it meets the necessary specifications.
What is the RA value of a 4 finish?
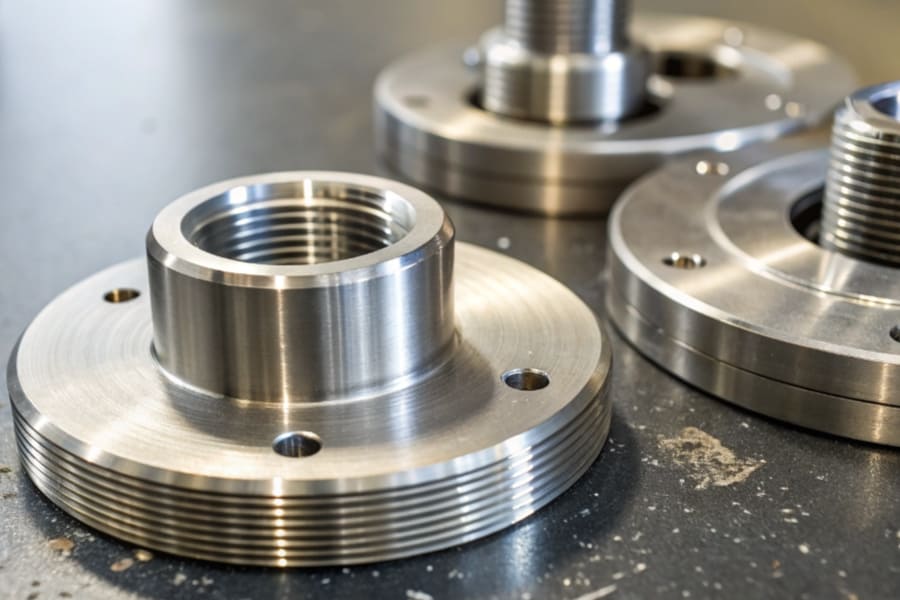
In my experience, “4 finish” is a common term I hear when discussing materials like stainless steel. It’s a finish that strikes a balance between appearance and functionality. I’ve seen it used in everything from kitchen equipment to architectural components.
The RA value of a 4 finish is typically around 0.8 to 1.6 micrometers. It’s commonly used in industries where appearance matters, but the part still needs to perform well under regular use.
The Role of 4 Finish in Various Industries
- Architectural: Provides an aesthetically pleasing, uniform finish.
- Food Industry: Smooth enough to prevent bacteria buildup and easy to clean.
- Consumer Goods: Used in appliances, offering a balance of smoothness and durability.
Additional Considerations
While a 4 finish is functional, it’s still a "mid-range" finish. For applications where hygiene or precision is critical, a lower Ra (e.g., Ra 0.2 or less) might be required.
What is considered a high RA?
I remember one project where I had to deal with high RA values. It was for an industrial component, and while a rougher finish was acceptable, it still needed to perform under heavy loads. It was a delicate balance.
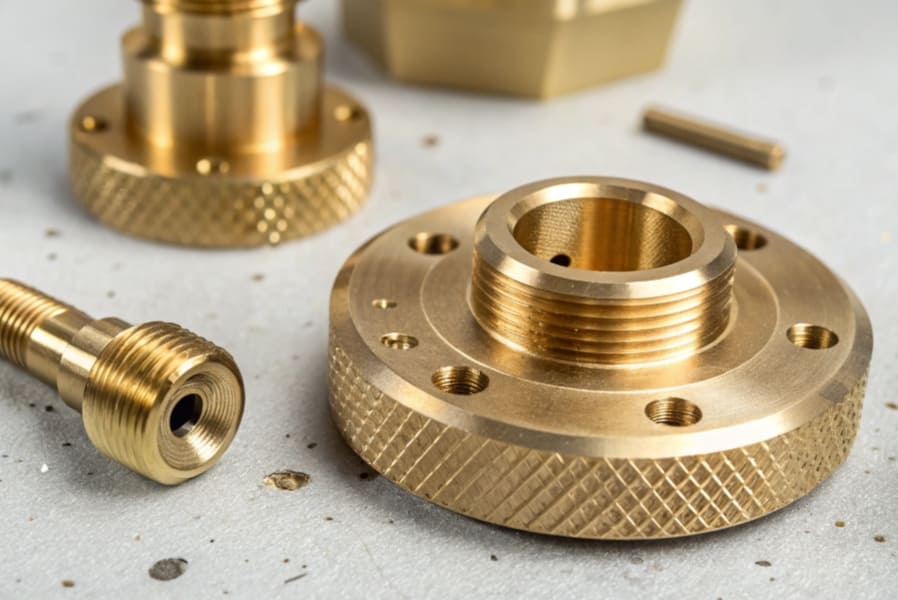
A high RA value typically refers to anything above 3.2 micrometers. This indicates a rougher surface, which may be fine for industrial parts but not for precision applications where a smoother finish is essential.
High RA Values and Their Impact
- Industrial Parts: Can usually handle higher RA values without performance issues.
- Precision Components: Need RA values significantly lower than 3.2 for optimal function.
Common Applications of High RA Values
- Heavy Equipment: In machinery where surface roughness doesn’t drastically affect performance.
- Gears and Bearings: Sometimes higher RA values are required for improving frictional characteristics.
What is 0.8 RA, 32RA surface finish?
Over the years, I’ve seen various surface finishes with RA values like 0.8 and 32. While the number seems simple, it often tells you everything about the part’s function and where it will be used.
A 0.8 RA finish typically indicates a smoother surface, suitable for automotive parts. A 32RA finish, however, is rougher and often found in industrial settings where performance matters more than appearance.
Understanding 0.8 RA vs. 32RA
- 0.8 RA: Perfect for parts that need a moderate level of smoothness.
- 32RA: Often used in functional parts where aesthetics are less important.
Choosing the Right Finish
The correct choice between 0.8 RA and 32 RA often depends on how the part will be used. While 0.8 RA is desirable for aesthetic purposes or applications with high wear, 32 RA is typical for industrial machinery where performance and longevity are prioritized over appearance.
What does 12.5 RA, 1.6 RA mean?
When I came across terms like “12.5 RA” and “1.6 RA” early in my career, I wasn’t sure how they translated into actual surface finish. After some hands-on experience, I learned that these values could mean the difference between success and failure in certain applications.
12.5 RA represents a rougher surface, often used in heavy-duty machinery, while 1.6 RA is smoother and more commonly used in automotive and other consumer products where a balance of smoothness and function is required.
Practical Applications of 12.5 RA and 1.6 RA
- 12.5 RA: Ideal for industrial components subjected to heavy use and load.
- 1.6 RA: Common in automotive parts, balancing smoothness with durability.
Conclusion
Surface roughness is a critical factor in product performance and quality. Through my work at GMetals, I’ve come to understand that calculating and controlling surface roughness is vital for creating parts that meet their intended function. Whether you are working with rough industrial components or precision aerospace parts, understanding the nuances of surface roughness ensures that the end product will perform reliably and efficiently.
Footnotes
Clicking the link will provide more details on CNC machining, a precise and efficient manufacturing process that plays a significant role in creating high-quality parts for industries ranging from aerospace to automotive. ↩
Learn about sheet metal fabrication processes, which are crucial for manufacturing metal components with high strength and durability, perfect for industries like construction and automotive. ↩
Digital profilometers are advanced tools that provide accurate surface measurements, helping you assess roughness with precision for quality control in manufacturing. ↩
A contact profilometer is an essential tool for hands-on surface measurement, where a physical probe contacts the material to record roughness. ↩
Non-contact profilometers are used when measuring sensitive surfaces, offering a risk-free method for delicate or thin materials by using laser technology. ↩
Atomic force microscopy (AFM) offers an ultra-precise method for surface analysis at the nanoscale, often used in high-tech industries such as semiconductor manufacturing. ↩
White light interferometry is a non-invasive method that uses light interference to measure surface features with incredibly high resolution, ideal for optical and precision applications. ↩
